Permission required to use this feature: create campaigns
You can personalize the “From” name and email address of campaigns or journey emails using custom fields. This means that a single email, with consistent messaging and branding, can appear to the recipient as if it is sent from someone they know, rather than a generic address like sales@example.com.
The ability to personalize sender details is perfect if you have customers on your subscriber list who work with a dedicated sales representative or account manager. In addition to saving time duplicating email content for individual senders, reporting is consolidated so it’s easier to measure the effectiveness of your customer emails.
To set up custom fields that you can use to personalize the “From” name and email address of customer emails:
- Click Lists & subscribers, then click the relevant subscriber list.
- Click Custom fields in the left menu.
- Click Add custom field.
- In the Data Type dropdown menu select Text to add a new text custom field.
- Enter a name for the field to describe what it is. For this example we’re using “AM email”, which is short for “account manager email”.
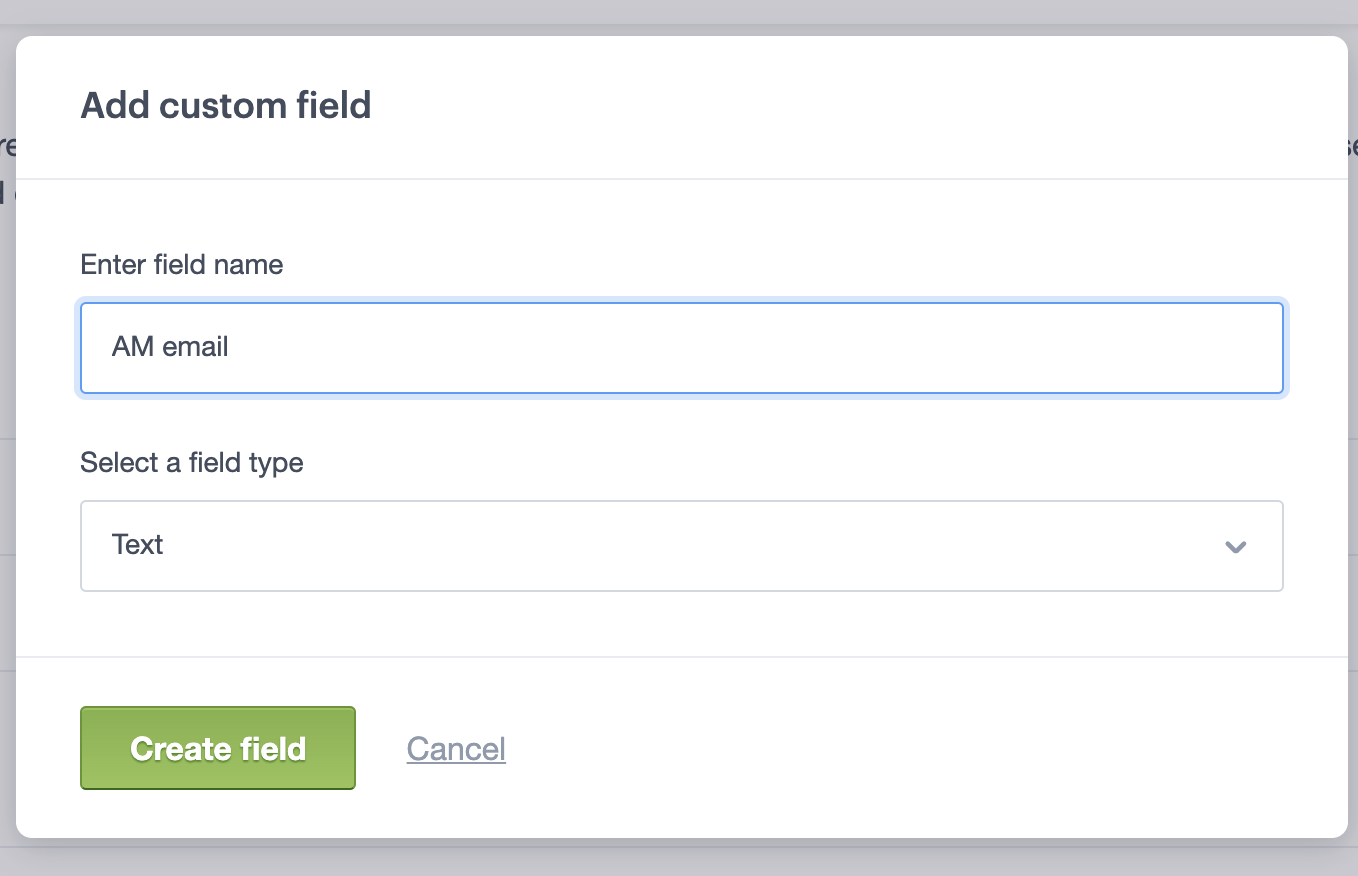
- Click Create field. The new field will be added to the list titled “Your existing fields”. To the right of the field name is the personalization tag you’ll use in the email address field when setting up your campaign. Using our example, the personalization tag would be
[AMemail,fallback=]. Make sure that the field is not set to visible, or else it will turn up on the subscriber’s preference center.
- Repeat the steps above to create a custom field for the “From” name. For this example we’ve used “AM name” as the field name, which creates
[AMname,fallback=] as the personalization tag.
Further down we’ll show you how to use these new personalization tags to set up an email with personalized sender details. But first, you will need to map your sender names and email addresses to the appropriate subscribers.
Update your subscriber list with sender details
For the personalization tags to work, you will need to apply the relevant sender details (name and email address) to each contact on your subscriber list.
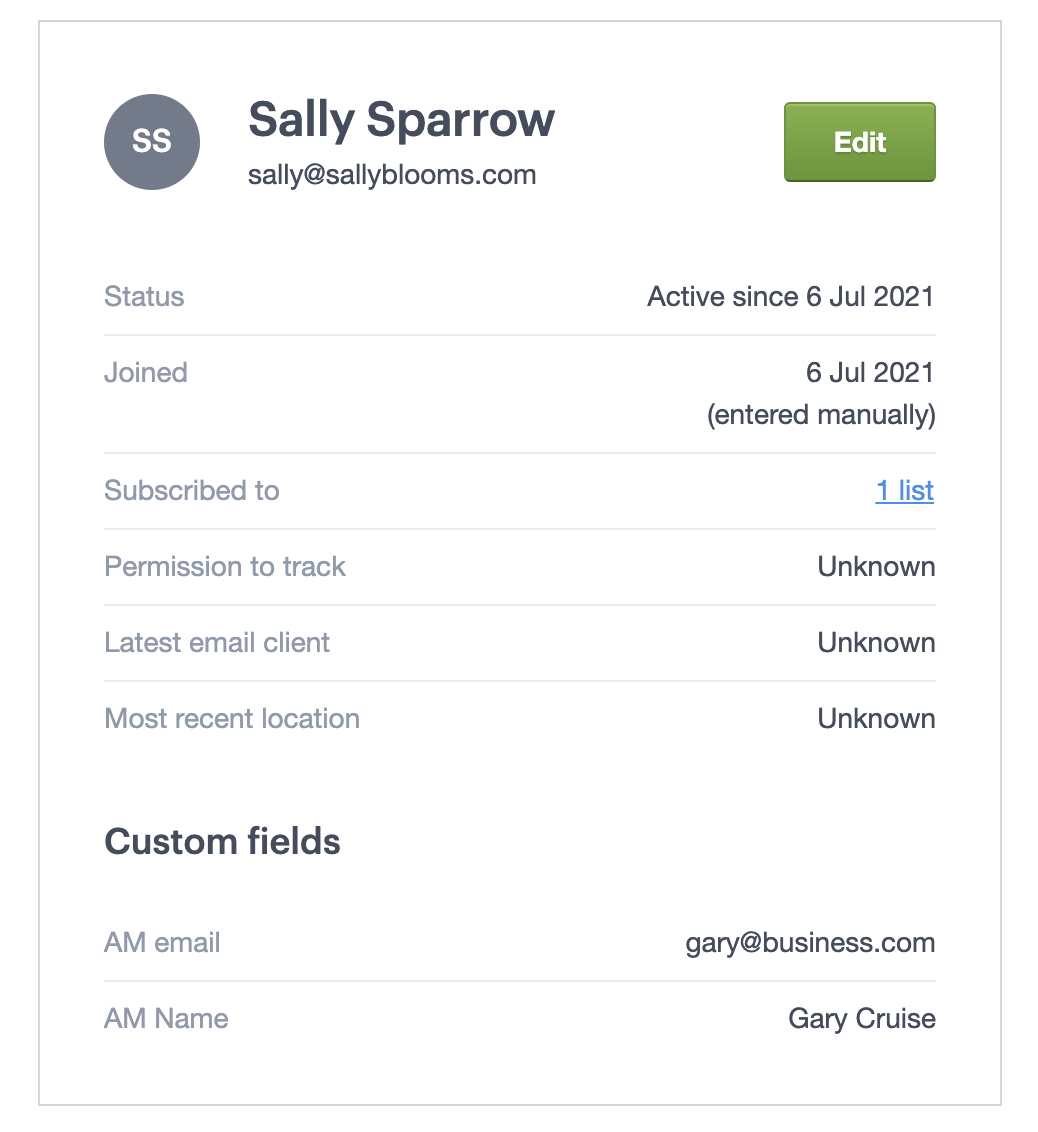
For example, let’s say an account manager named Gary Cruise looks after a customer named Sally Sparrow. To have Gary’s details show in the “From” fields for emails sent to Sally, his information has to be added to Sally’s custom fields for “AM name” and “AM email”.
You could potentially automate this by integrating it into your own software using our API to pass through custom field values for each contact on your subscriber list. However, if you don’t use the API it can also be done manually, in one of two ways.
Update subscribers via file import
To bulk-update your subscriber list with the relevant sender details for each customer, export all active subscribers, including the new custom fields (in this example “AM name” and “AM email”) as shown in the image below:
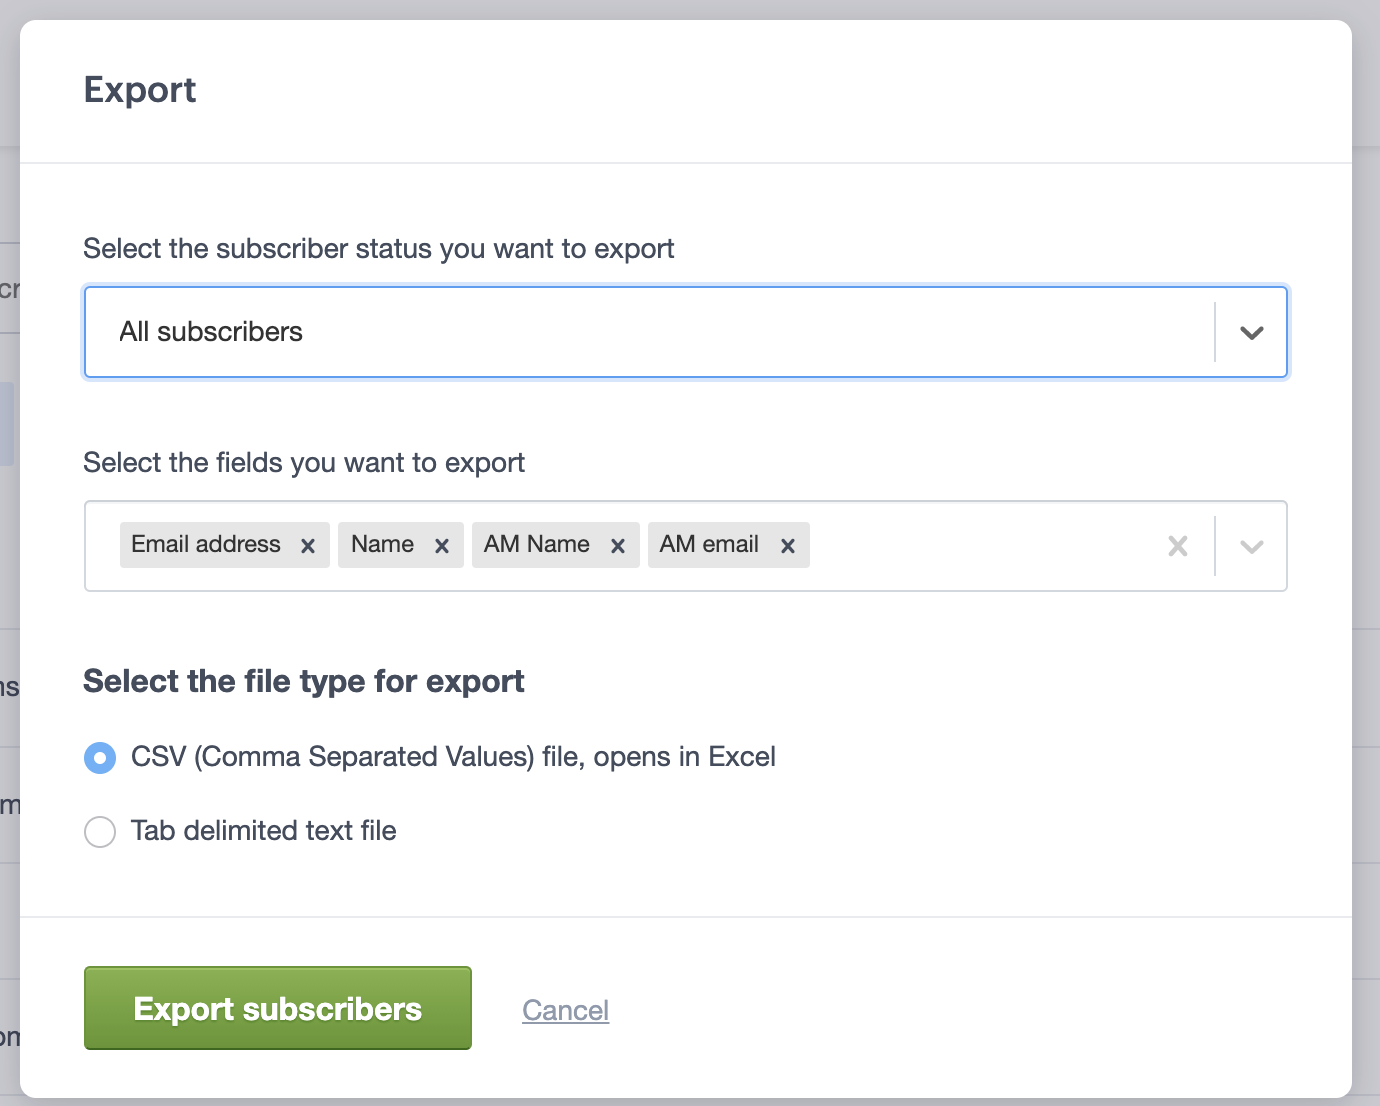
Open the downloaded file in a spreadsheet tool like Microsoft Excel or Google Sheets, then fill the empty file columns for “AM name” and “AM email” with data. Save the file, then re-import it.
Edit individual subscriber profiles
You can search for individual customers on your subscriber list and manually update their new custom fields with the name and email of their new contact. See our instructions for viewing and editing subscriber profiles.
Use personalized sender details in campaigns
To set up a new campaign with personalized sender details:
- Click Campaigns.
- Click Create a campaign.
- In the “From" section, enter your personalization tags in the fields for sender name and email address. If you need to personalize the entire email address including the domain, click the Personalize toggle at the top right.
- If you’re using a reply-to address, you can also personalize it so the recipient can email the sender directly.
- In the "To" section, select the subscriber list the personalized sender custom fields were added to.
- Send yourself a couple of preview emails to test the personalization tags before doing your final send.
You should include a general “From” name and email address as fallback terms when using sender personalization tags. This will cover you if there are any subscribers on your list who don’t have personalized sender details.
Use personalized sender details in journey emails
To set up personalized sender details for emails in a journey:
- Click Automation.
- Click Create an automation and select Custom journey from the menu.
- Select the subscriber list that the personalized sender custom fields were added to.
- Add an email step in the journey designer, and click it.
- In the “From” section of the email’s settings panel, enter your sender personalization tags in the “From name” and “From email” fields. If you’re using a reply-to address, also make it personalized so the recipient can email the sender directly.
- Send yourself a couple of preview emails to test the personalization tags before doing your final send.
Handy to know
- Fallback terms are required for the “From” and reply-to email addresses. The “From” name can be customized without a fallback.
- If the referenced custom field does not exist in the subscriber list you’re sending to, results in an invalid email address or a subscriber has no value recorded for that custom field, then the fallback is used.
- In the From name field, if the referenced custom field does not exist in the subscriber list you’re sending to, and there is no fallback defined, no value will be swapped in and the text will be sent as-is to the recipient.
- For authenticated domains, only the content before the @ sign can be personalized.
- You cannot use the following reserved tags with the personalized sender feature:
- Personalization tags —
[email], [fullname], [firstname], [lastname]. - Plain text email quick link tags —
[preferences], [forwardtoafriend], [webversion], [unsubscribe], [tweet], [fbshare]. - Dynamic content tags —
[if], [endif], [else].