Permission required to use this feature: create campaigns
Using text blocks in the email builder
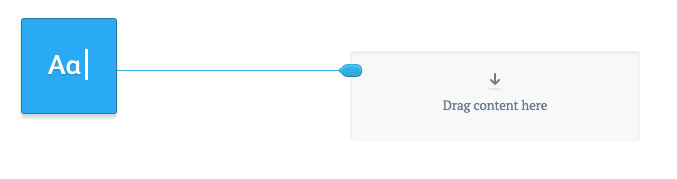
The email builder allows you to create and format content by dragging and dropping "Text" blocks into section columns. You can add headings, lists, quotes, normal text, links, and personalization while customizing fonts, sizes, styles, and colors.
Default fonts and styles
Default fonts and styles for emails are set when you create a template. While building an email using a template, you can modify these settings. However, changes made during email creation will apply only to the current email and not the original template.
To edit default fonts and styles:
- Click the cog icon in the Build menu on the left.
- Change the settings in the Colors and fonts section.
Text block fonts and styles
Available font types
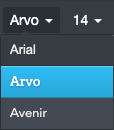
The text toolbar provides seven default font types:
- Heading 1
- Heading 2
- Heading 3
- Normal text
- Numbered list
- Bulleted list
- Quote
These defaults can be overridden by selecting a font style or size from the dropdown menus in the toolbar.
Font compatibility
The fonts chosen will display as expected in the email builder and the web version of the email. However, font display may vary based on the recipient's device or email client. Learn more.
Line height
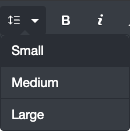
You can adjust the spacing between lines in a text block by selecting Small, Medium, or Large line heights.
Font color
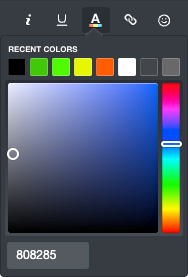
To change text color, click the "A" icon in the text toolbar. Recently used colors in the current campaign will appear for quick access, or you can manually select a new color.
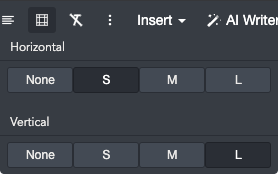
Padding
Padding adds spacing around the text in text blocks:
- Vertical padding: Space above and below the text.
- Horizontal padding: Space on the left and right of the text.
You can choose from None, Small, Medium, or Large padding for each option.
The "Clear formatting" option in the text toolbar removes any custom styles from the selected text, reverting it to its default format (e.g., Normal text or Heading 1).

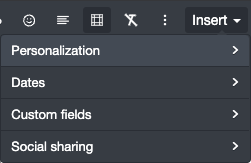
Insert personalization
The Insert menu in the text toolbar provides quick access to insert personalization, dates, custom field data, and social sharing buttons into your text block. Personalization tags act as placeholders while building the email and are replaced with the recipient’s specific data or the current date at send time.
Alternatively, you can manually type personalization tags directly into a text block.
Personalization
These personalizations are available to every list, and include:
- First name
- Last name
- Full name
- Email
Dates
Date personalizations are replaced with date-specific details at send time, including:
- Current day
- Current day name
- Current month
- Current month name
- Current year
Custom fields
The Custom fields submenu offers access to all custom fields associated with your subscriber lists.
Custom field personalization tags can also be used to create URLs, such as:
http://[customdomain].example.com
The "Custom fields" sub-menu provides quick access to all your lists and their custom fields.
Social sharing
Add social media sharing buttons for Twitter and Facebook:
- Tweet
- Share this email on Facebook
- Share a page on Facebook
Advanced text formatting
Keyboard shortcuts
Use the following shortcuts to quickly format and align text:
| Keyboard Action | Windows / Linux | Mac |
| Bold | Ctrl B | ⌘ B |
| Italics | Ctrl I | ⌘ I |
| Underline | Ctrl U | ⌘ U |
| Superscript | Ctrl . | ⌘ . |
| Subscript | Ctrl , | ⌘ , |
| Strikethrough | Ctrl ⇧ S | ⌘ ⇧ S |
| Align Left | Ctrl ⇧ L | ⌘ ⇧ L |
| Align Right | Ctrl ⇧ R | ⌘ ⇧ R |
| Center Text/Alignment | Ctrl ⇧ E | ⌘ ⇧ E |
| Justify Text/Alignment | Ctrl ⇧ J | ⌘ ⇧ J |
| Insert Link | Ctrl K | ⌘ K |
| Clear Formatting | Ctrl \ | ⌘ \ |
Note: ⇧ = Shift key, ⌘ = Command key.
Paragraphs and new lines
By default when you press Enter or Return in an email builder text block, a new paragraph is created. To create a new line instead, press Shift + Enter or Shift + Return instead.
When working with numbered or bulleted lists, you can press Tab to indent your current line. Press Shift + Tab to outdent. Enter or Return will also outdent, if the line is currently indented.